STÖHR+SAUER Beauty Panel for Photoshop
About us
General
In addition to the availability of various other useful tools in this panel (but also a few of the standard tools), the particular objective was, to be able to work with as few clicks as possible. For this purpose, a number of preset buttons were created, which can be individually assigned with personal preferences. Most features are configurable and some even have an extra one-click button.
Where available, you can access the configuration by CMD/Ctrl Left Click or additionally by right-clicking the mouse in Windows.
Why a Panel ?
In People photography you usually spend a lot of time with retouching the pictures. In contrast to other fields of photography, many details have to be edited manually (hair, skin, other details). In other genres, e.g. Architecture, landscape or street photography (just to name a few) it is usually not so distinct.
A collection of actions will help to ease repetitive processes, such as frequency separation, but it also requires constant changes in tools and settings, depending on which layer you are working. In Photoshop, this means switching between stamp and brush and changing opacity and hardness needs several clicks, and this has to be made very often during retouching. Among other things, this will be reduced as consequent as possible with the panel.
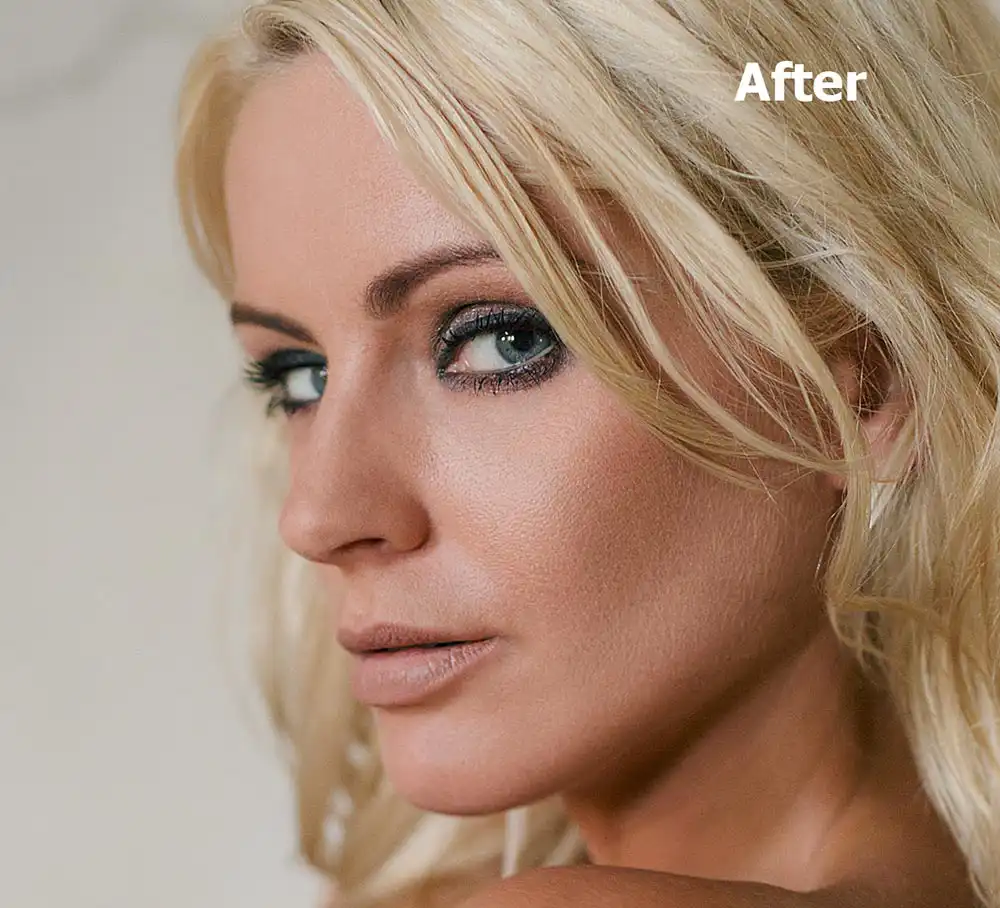
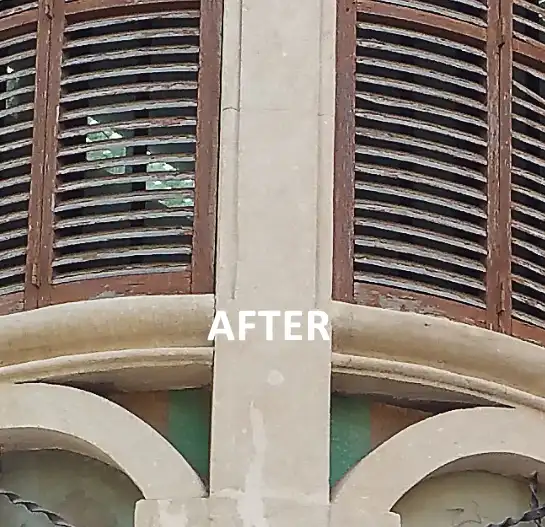
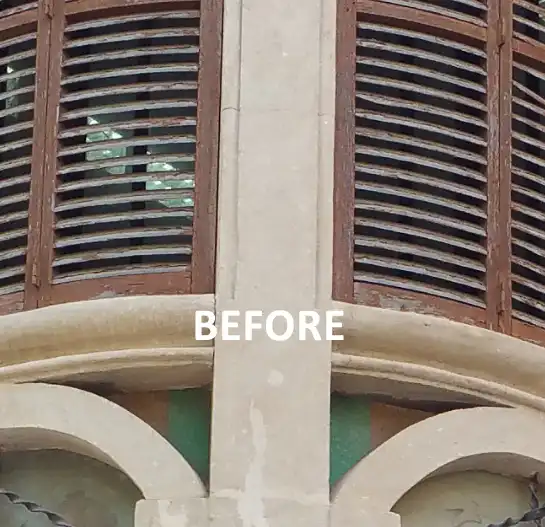
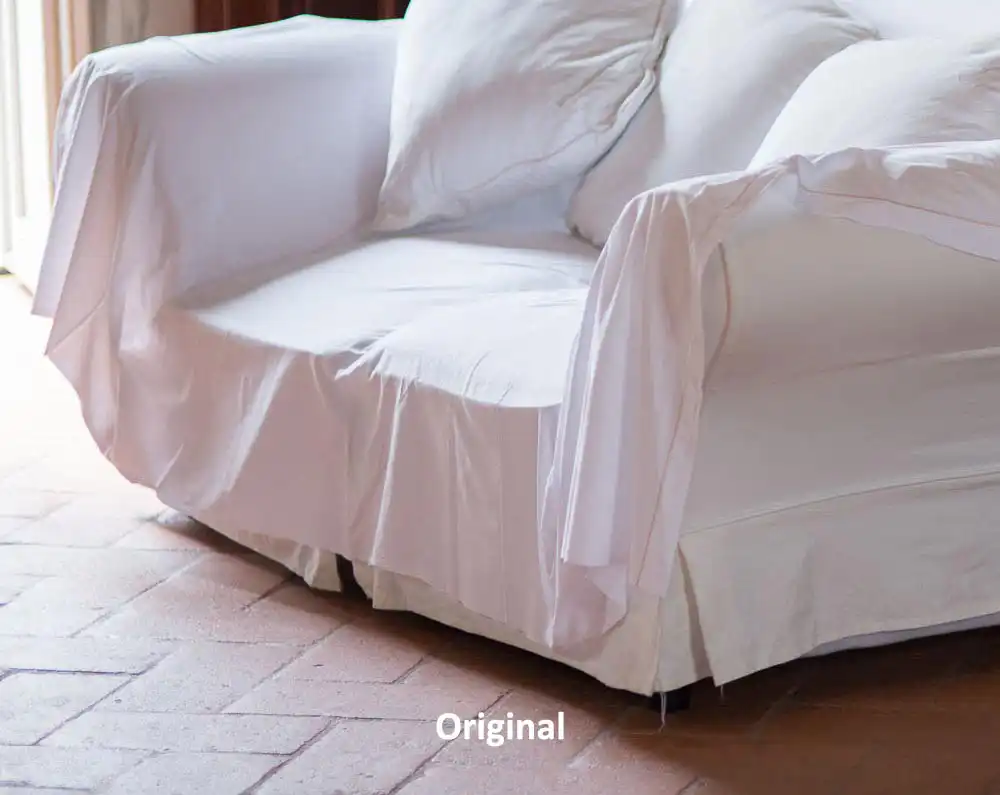
Before / After
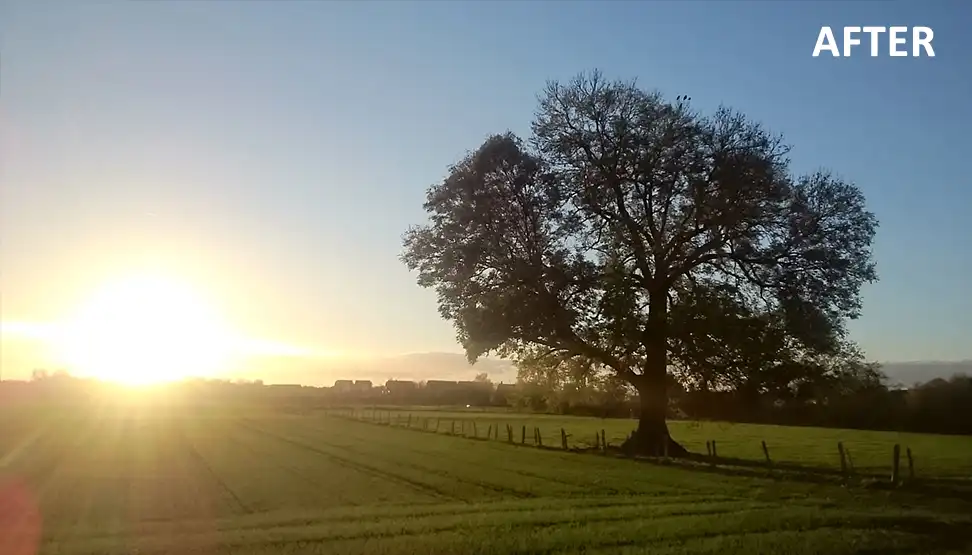
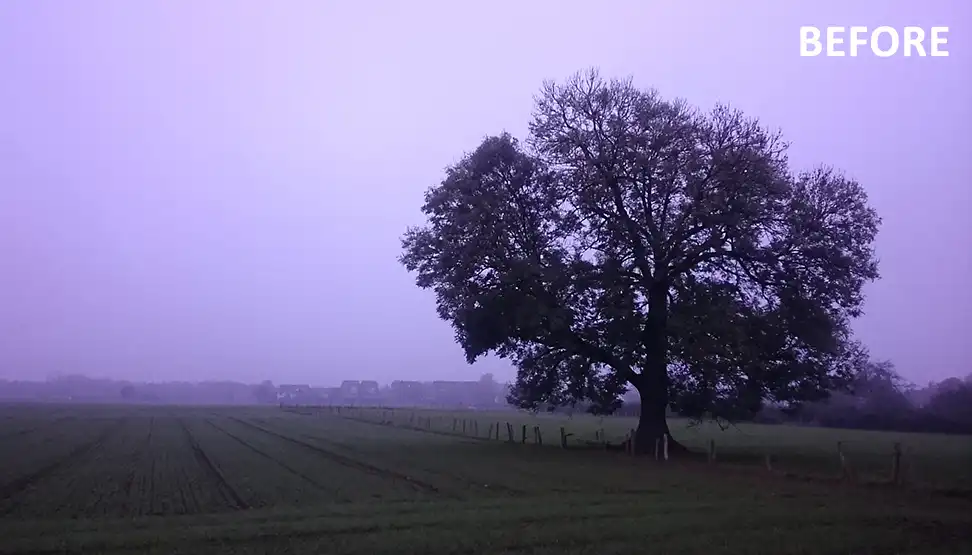
In this description there are some pictures that show the original picture and additionally as mouse-over effect the retouched Beauty Panel version.
All pictures with this effect have a header "Before / After".
Important !!!
Download S+S Beauty Panel

Download the current version of the S+S Beauty Panel here.
This version is compatible with both Windows and Macintosh systems.
S+S Beauty Panel Description PDF-Format
Software Requirements
The panel is currently compatible with Photoshop CC, both on macOS X and Windows.
As far as possible without much effort, we also make it workable for the CS6 version.
Language
Installation Windows
Download the Beauty Panel. Unzip the contents of the zip file and copy the folder "Beauty Panel" into the following folder:
C:\Program Files\Common Files\Adobe\CEP\extensions
ATTENTION !!!
If you are using a new installation of Photoshop CC and the panel doesn`t show as described, this path could be possible, too:
C:\ Program Files\Adobe\ Adobe Photoshop CC 2018\Required\CEP
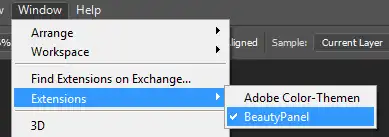
After you have started Photoshop, you can start the Beauty Panel in "Windows / Extensions" and fit into your working environment.
Installation Macintosh
Download the Beauty Panel. Unzip the contents of the zip file and copy the folder "Beauty Panel" into the following folder:
-/Library/Application Support/Adobe/CEP/extensions/
Here you will also find the beauty panel in "Windows / Extensions".
Overview
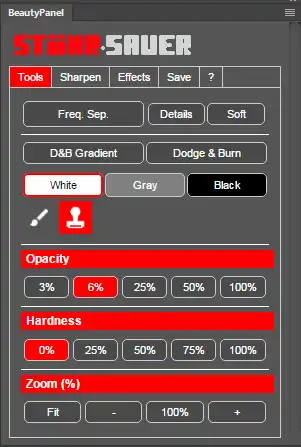
The tools of the Beauty Panel are allocated in 4 tabs, which are explained in more detail on this page.
The overview is kept short and requires basic Photoshop knowledge. If necessary, you will find a respective detailed description in specific parts of the documentation.
Tools
Sharpen
Effects
File Saving
1.Tab - Tools
FREQUENCY SEPARATION
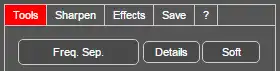
It is the linchpin of our retouching.
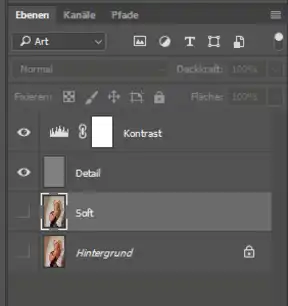
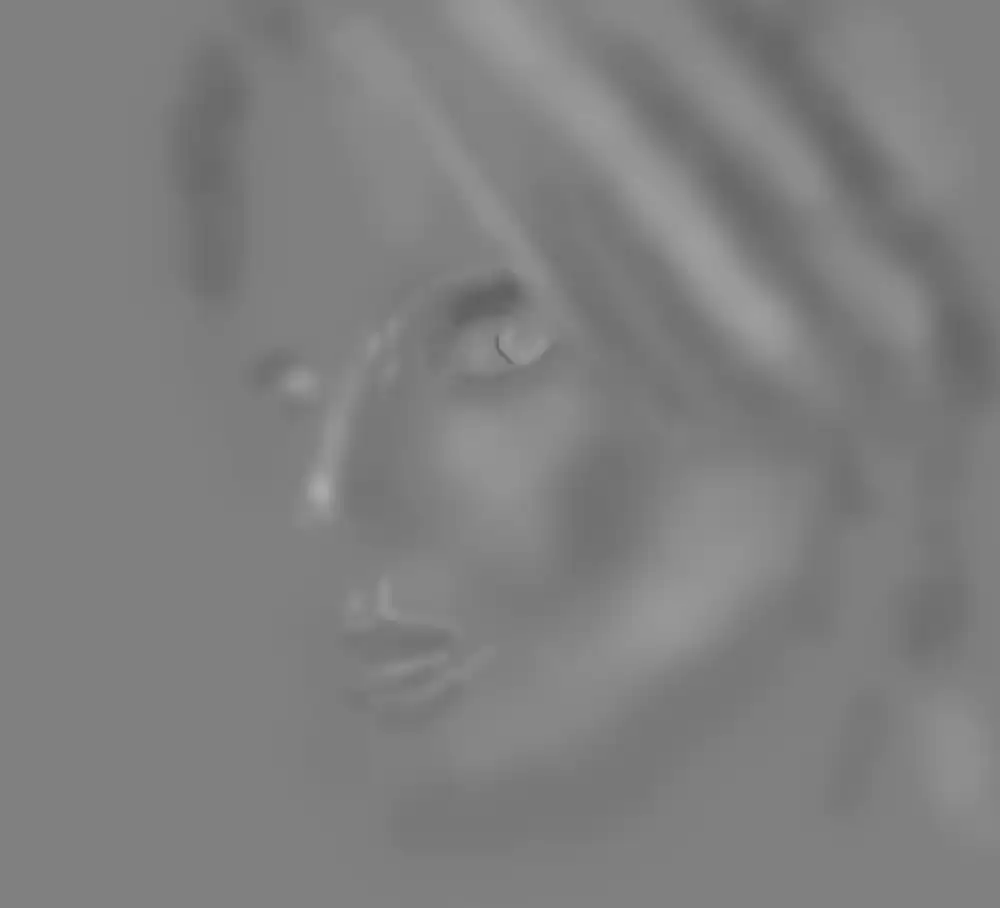
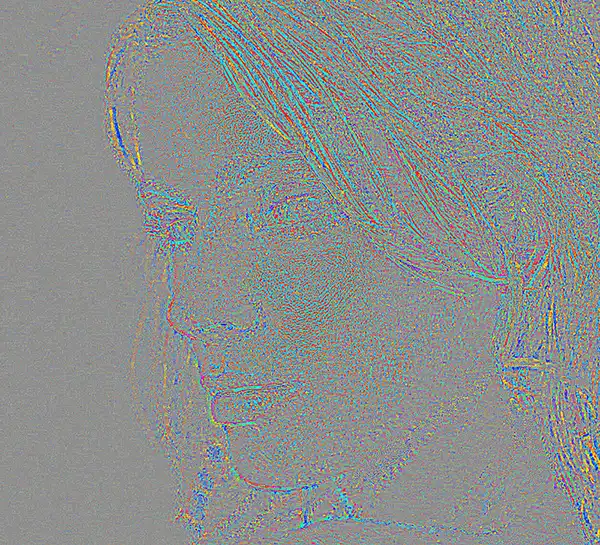
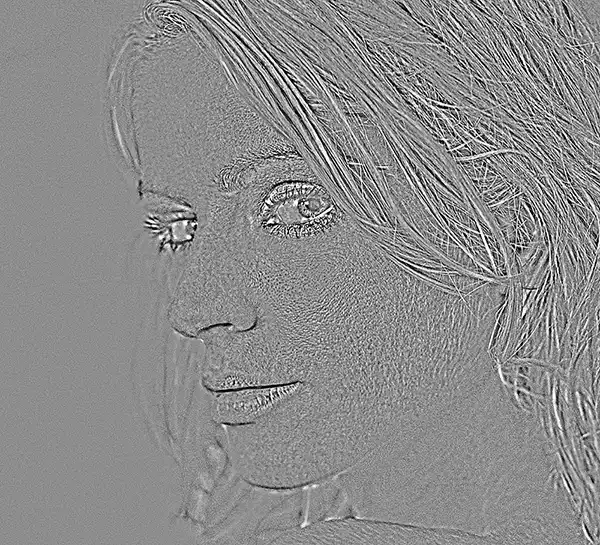
The frequency separation is a professional image processing method to make very sophisticated manual image editing of individual retouching possible. For this purpose, an image is split into the detailed brightness information ("Details" layer) and into a soft color and brightness component ("Soft"). This means you do not have to worry about the underlying color and brightness when editing details (structure, skin, fabric, ...). Conversely, you do not have to worry about the details in the level Soft. Both layers (soft + detail) together return the original image.
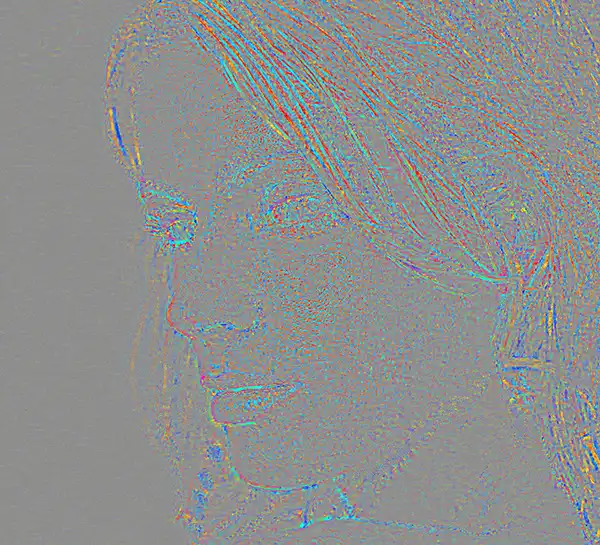
In order to make the structures more visible in details, the contrast is extremely enhanced by means of Level. This makes even slight details visible.
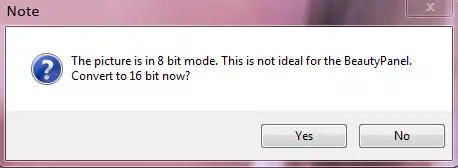
Note
Settings
After executing the frequency separation, the Soft layer is turned off, Detail layer is selected, and Contrast turned on, to get the maximum contrast for editing.
Finally Stamp is selected with 100% Hardness and 100% Opacity.
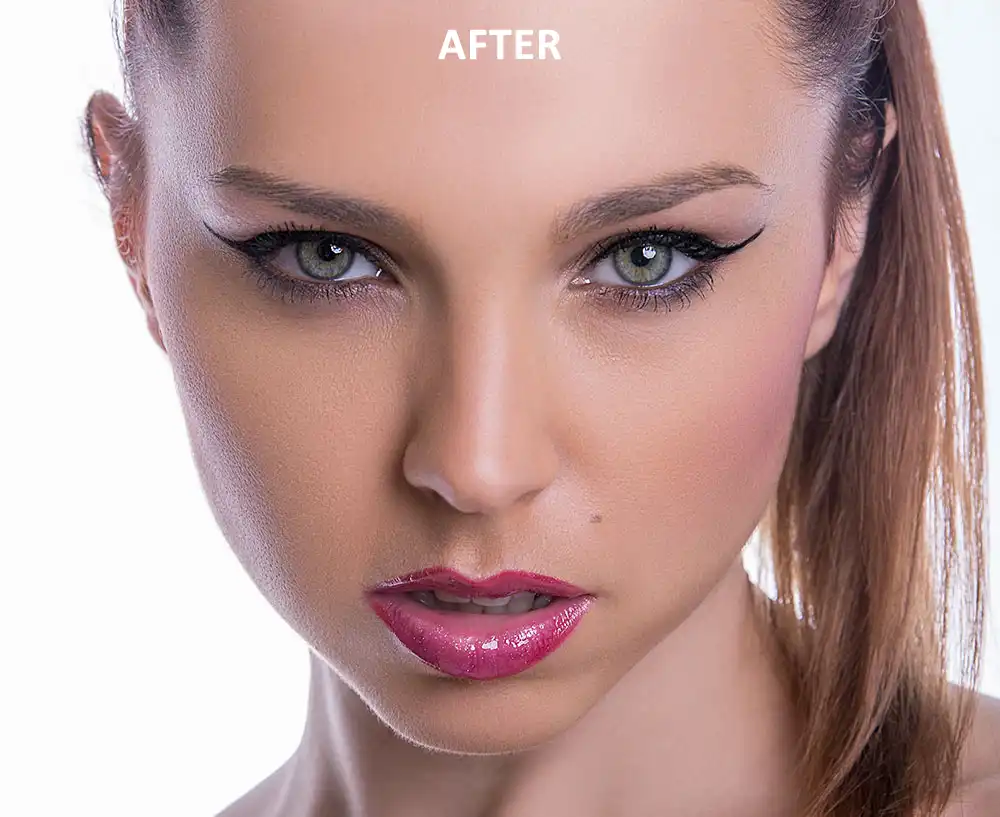
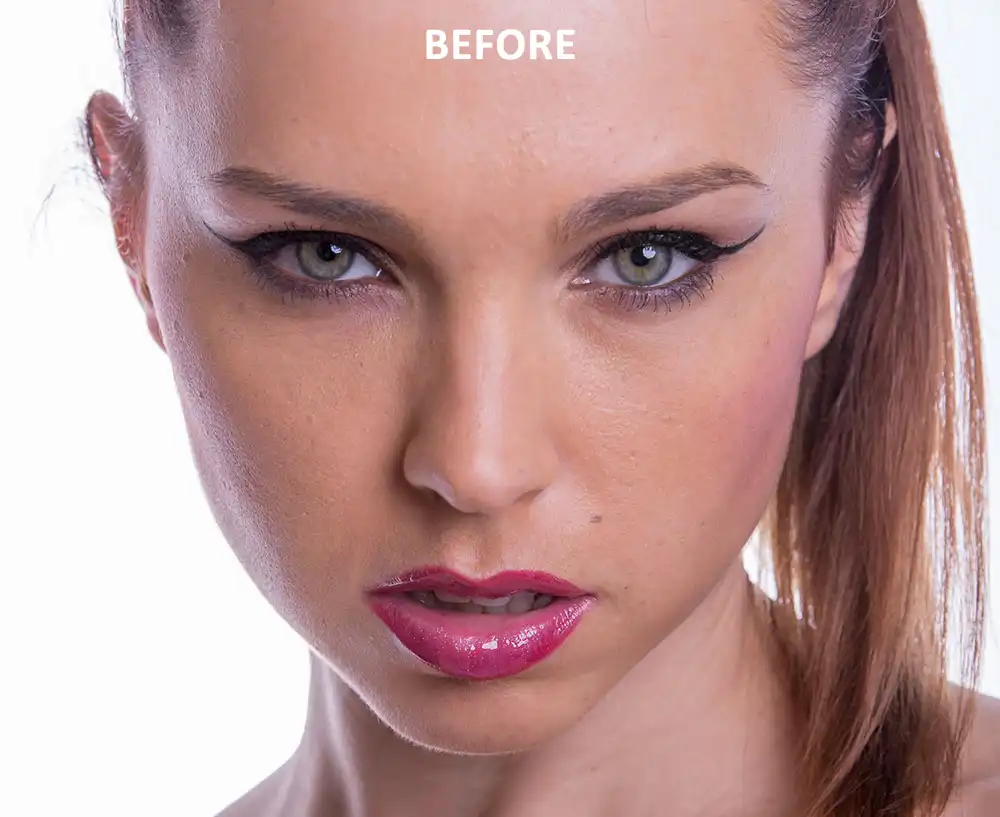
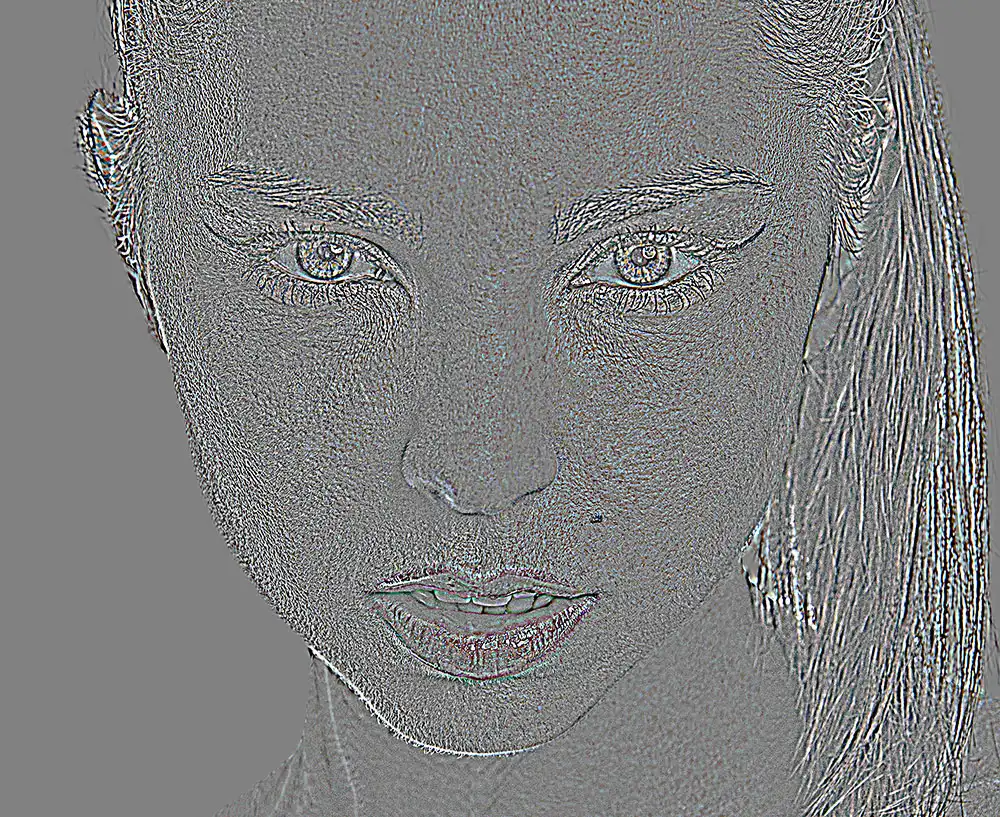
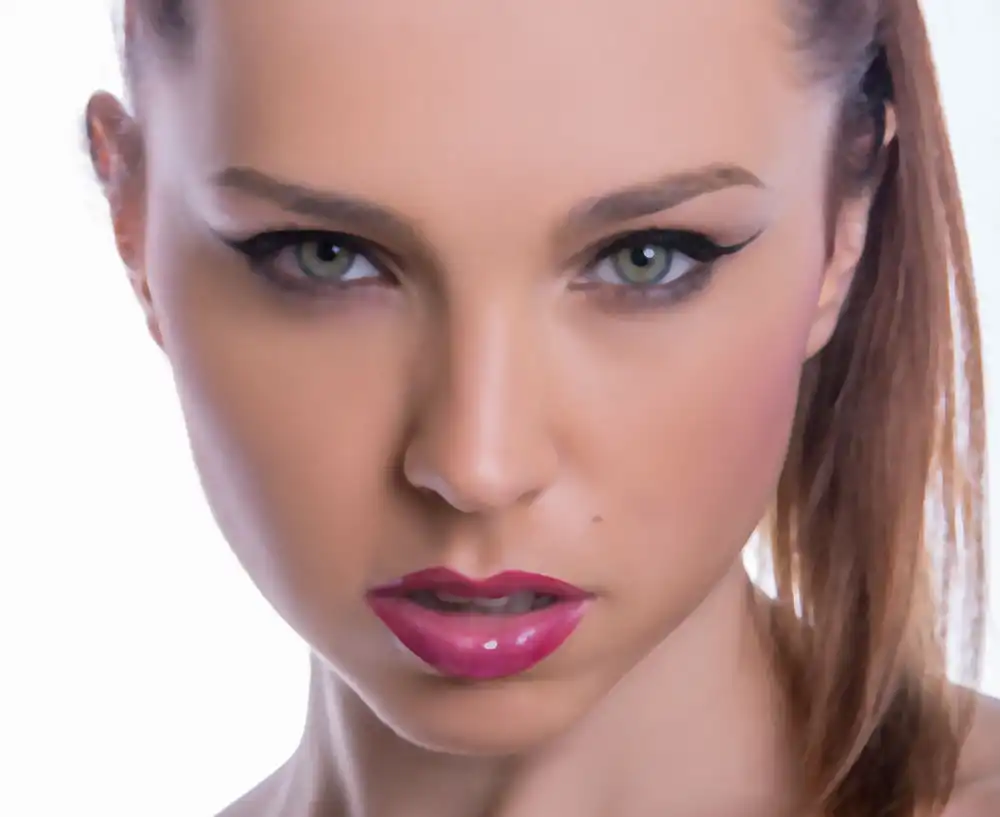
Before / After
Here you can compare the original picture with a result you can get with the Beauty Panel. Skin details are improved and the soft structures are smoothed without destroying the skin structure.

Layer Details
Details
Processing of an image for the detail correction takes place in the Details layer. Due to the fact, that mainly black and white structures are present, it is very easy to correct and clean skin areas (stamping), because in areas, where the sharpness is identical and the structure is right, you can determine the source almost everywhere. Stamping is done with 100% Hardness and 100% Opacity to avoid blurring when copying.
The video shows the basics. (in process)
Layer Soft
Soft
Buttons
Button Details

Button Soft

Defaults (configurable)
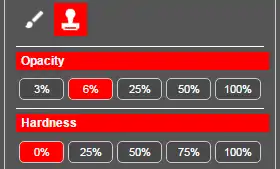
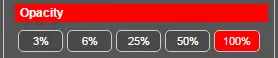
Opacity
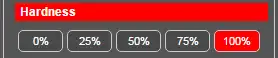
Hardness
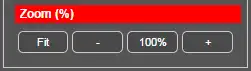
Zoom
Dodge and Burn (2 variants)
Beauty retouching of course includes dodging and burning of parts of the picture.
We have 2 different non-destructive methods available, which have their specific advantages and disadvantages depending on the objective target.
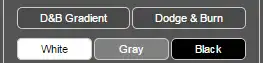
D&B Gradient

Dodge & Burn
Creates an adjustment layer with 50% gray on which you non-destructively can Dodge & Burn. Stronger effect than D & B gradient. Dodge White and Burn with Black.
!! However, if you overdo, color shifts will occur !!

Button White

Button Grey

Button Black

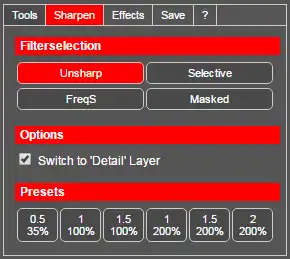
2.Tab - Sharpen
Unsharp Mask
Filter selection
First, you have to select one of the 4 methods you want to use. The option Switch to detail level will change to a existing Detail layer, to apply the selected sharpening method to Details. Otherwise, the active layer is sharpened.
Since we are dealing here with beauty retouching, some specific characteristics have to be considered.
Selective Sharpening
FreqT - Frequency Separation sharpening
Masked Sharpening
Before / After

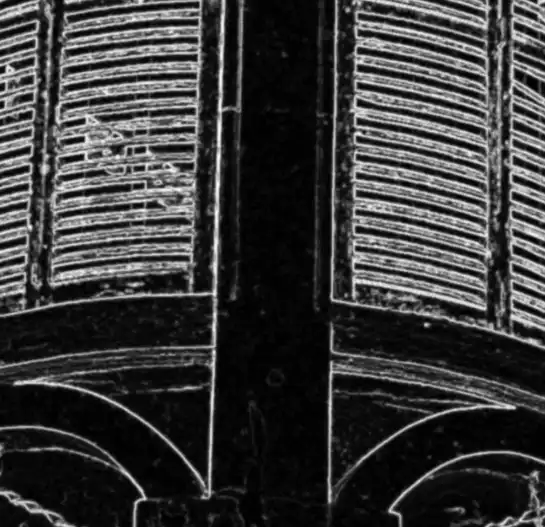
Soft selection
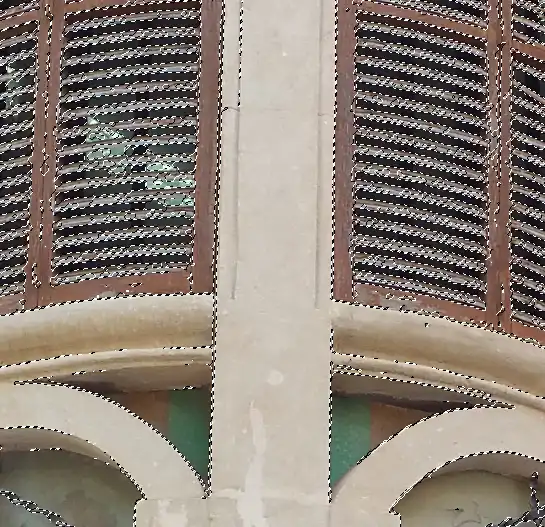
Final Mask for selective drawing
Options: Switch to Layer

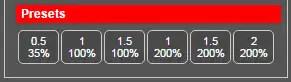
Presets
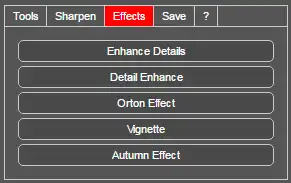
3.Tab - Effects
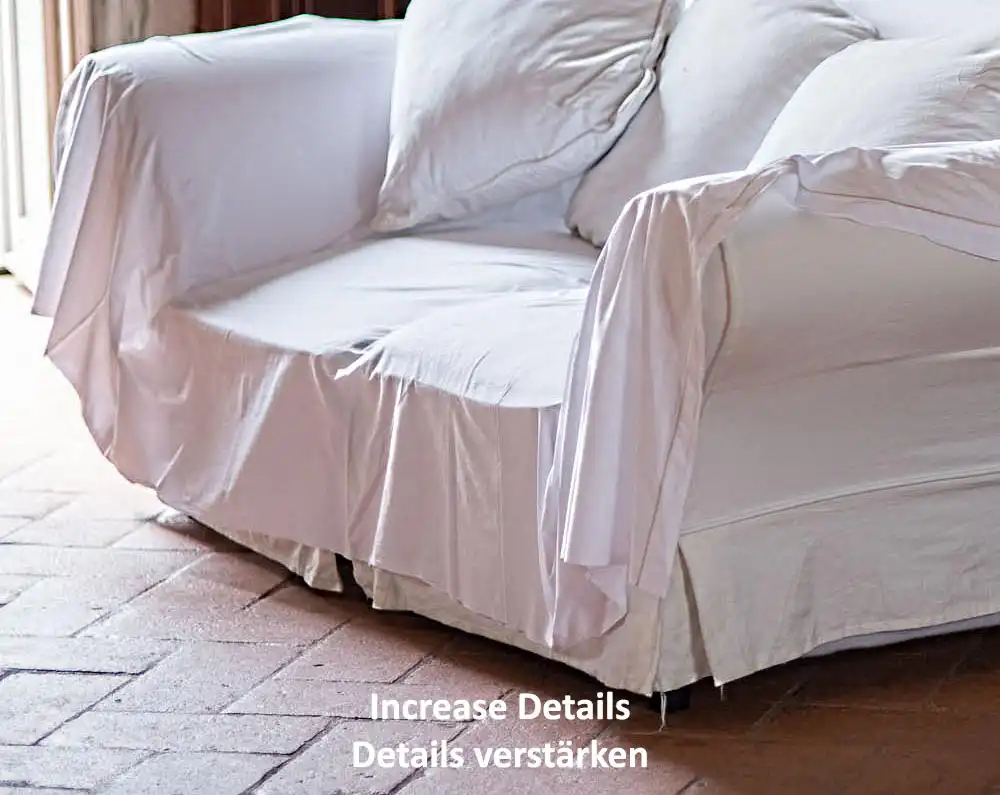
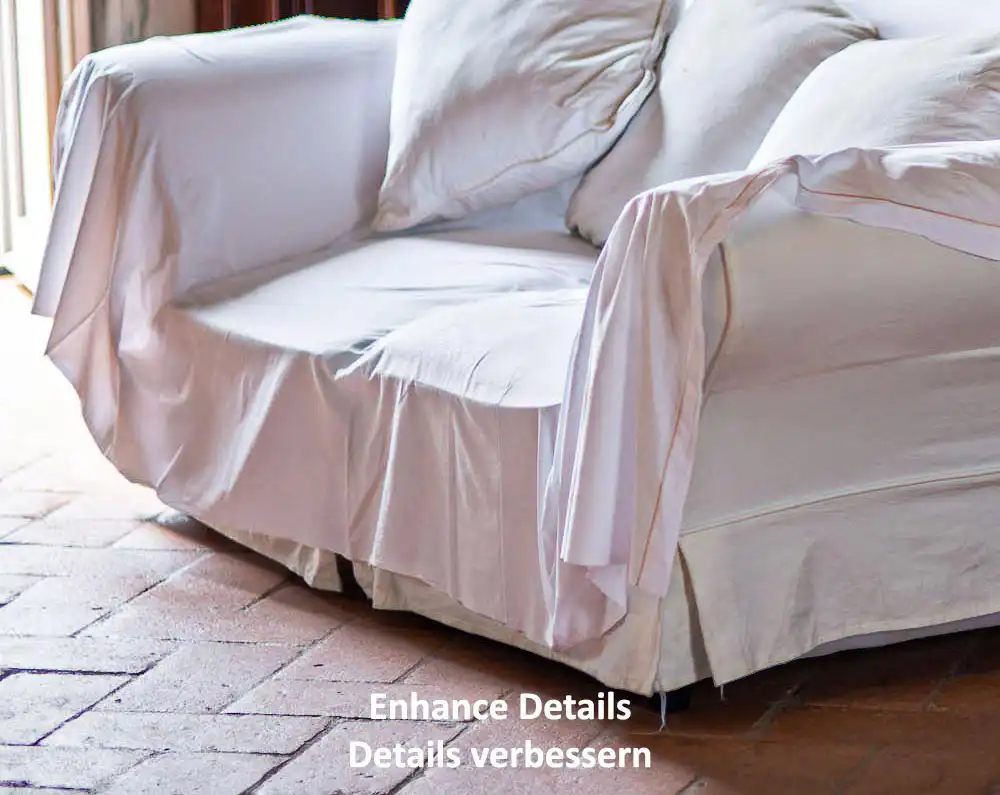
Improve details
Reinforce details
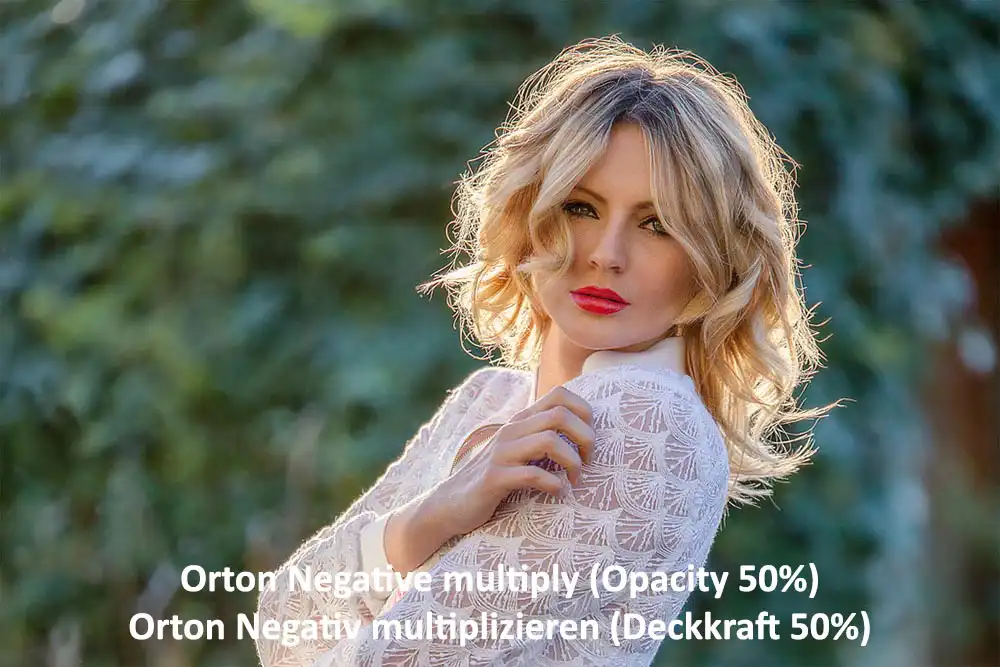
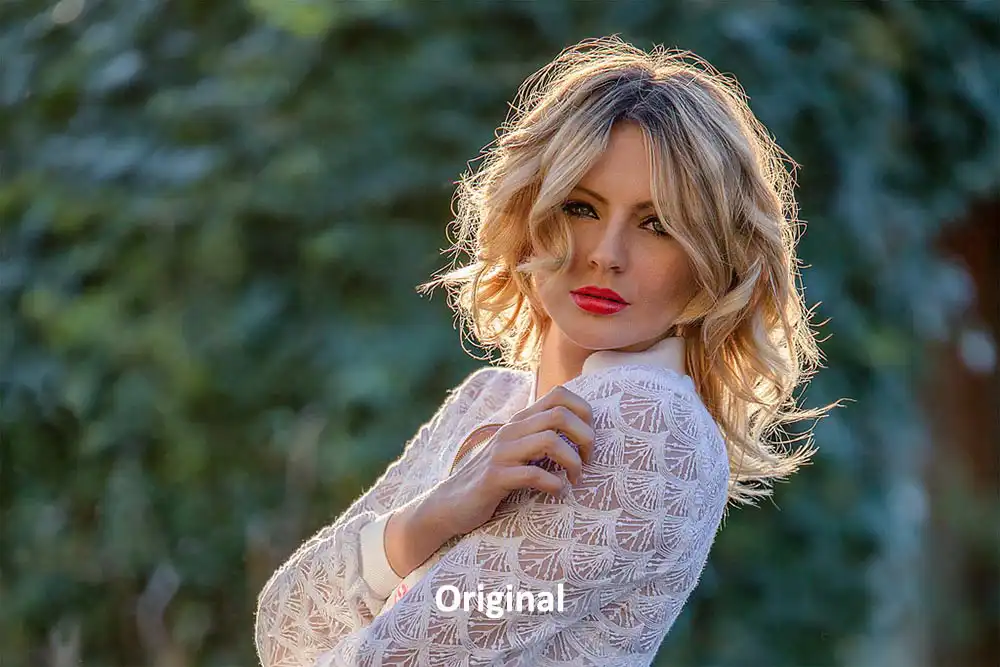
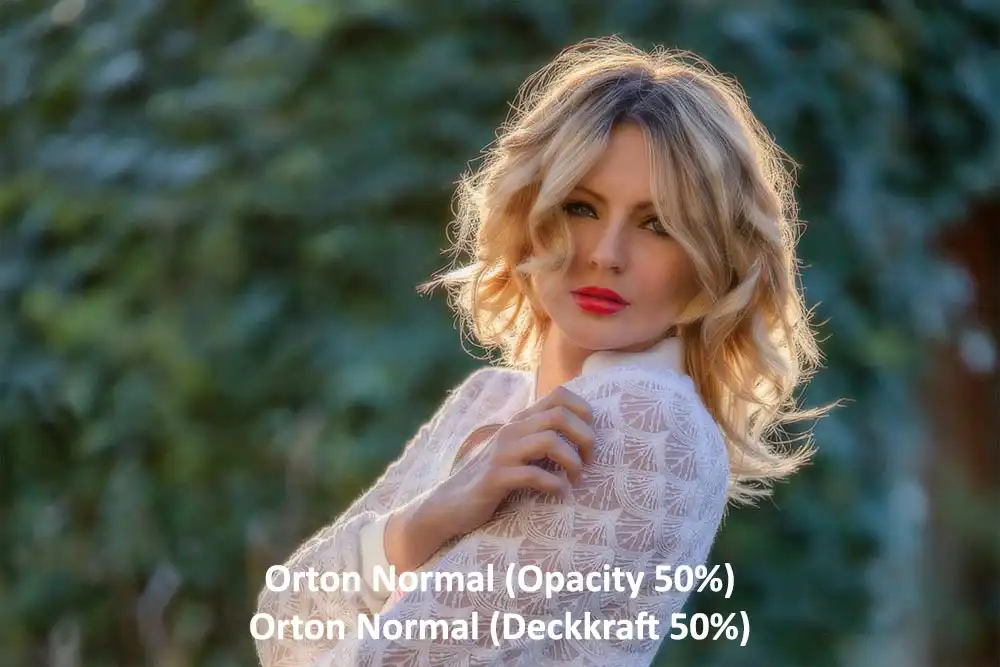
ORTON Effect
The Orton effect creates a "dreamlike" image impression, in that the sharp original image is superimposed transparently with the softened image.
It creates a masked blurred layer with selectable Normal or Negative Multiply mode for the Orton effect. The "Negative Multiply" layer mode also brightens the image and creates a sunnier mood. The intensity of the effect is controlled by the opacity.
VIGNETTE
AUTUMN EFFECT
Creates a masked layer where the greens are shifted to red to create autumn colors. The intensity is controlled by the opacity.
Additional function
You can also reduce greenish stray light under trees well, if the model is only partially illuminated by it. This effect can be controlled in detail with the mask and the opacity.
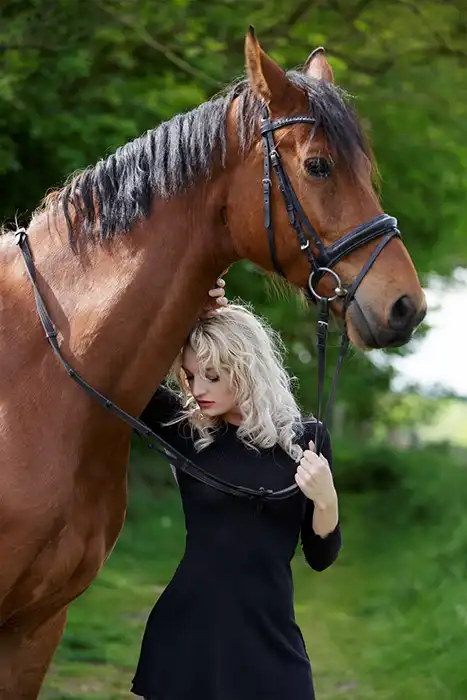
Original without effect
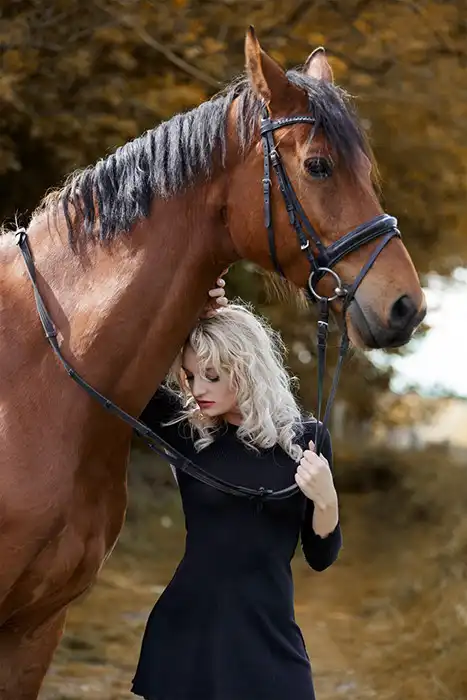
Image with autumn-effect
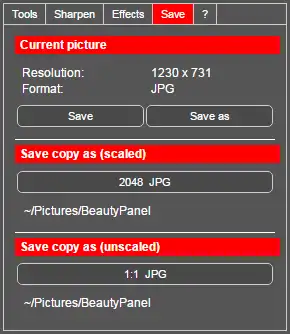
4.Tab - File Saving
Current Image

Save copy as (scaled)
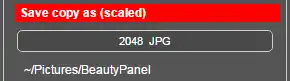
With the button you can define the size and the format for saving a copy of the current image.
Defining the button asks for the following settings:
- Name of the image to be saved (can be changed)
- Scaling and scaling method
- Sharpening intensity and values with the filter unsharp mask
- Path to save to and image format (the name can be changed here)
- Storage format options (depends on the format)
This process creates a temporary copy of the current image and applies the settings to that copy. This ensures that the original is not accidentally affected. After saving the copy, it is deleted and the panel returns to the original file.
The button displays the selected resolution in pixels as well as the image format and below the selected storage path.
Save copy as (unscaled)
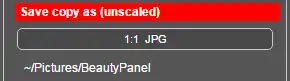
This button allows you to save the current image without scaling in a different picture format and path than the original image, and does no scaling and sharpening.
In the button, this is defined and the selected image format is displayed and below the path for saving.